Blog

  • Finding The Best Labels For Your Home Brewed Beer

    Finding The Best Labels For Your Home Brewed Beer

    Making your own beer is a hobby that is growing fast around the world. If you really want to know what is being put into the beer that you drink, making your own beer is going to give you all that information and so much more. There are no harsh chemicals needed to make beer, and all the natural ingredients are going to be easy for you to purchase online and offline to make your own beer. You can find any basic beer-making recipe, and then make changes to the process to change the overall final flavor and taste of the beer you make.

    After a few ‘tries’ at making your own beer, you are going to create a beer flavor that you can really enjoy. We each have our own personal favorites, and as you manipulate the recipes, you can create a beer that is just right for you. You can even control the alcohol content in the beer, by determining the amount of time you leave the beer to ferment and to ‘become’ beer after you have added the yeast to the mixture. Beer making is fun, and it is not difficult at all.

    To start in the hobby of beer making, it is suggested that you purchase a beer making kit. As you purchase the kit first, you will learn how all the pros make beer. You will learn more tips and tricks for making beer so that the beer you make is going to be better overall from the start.

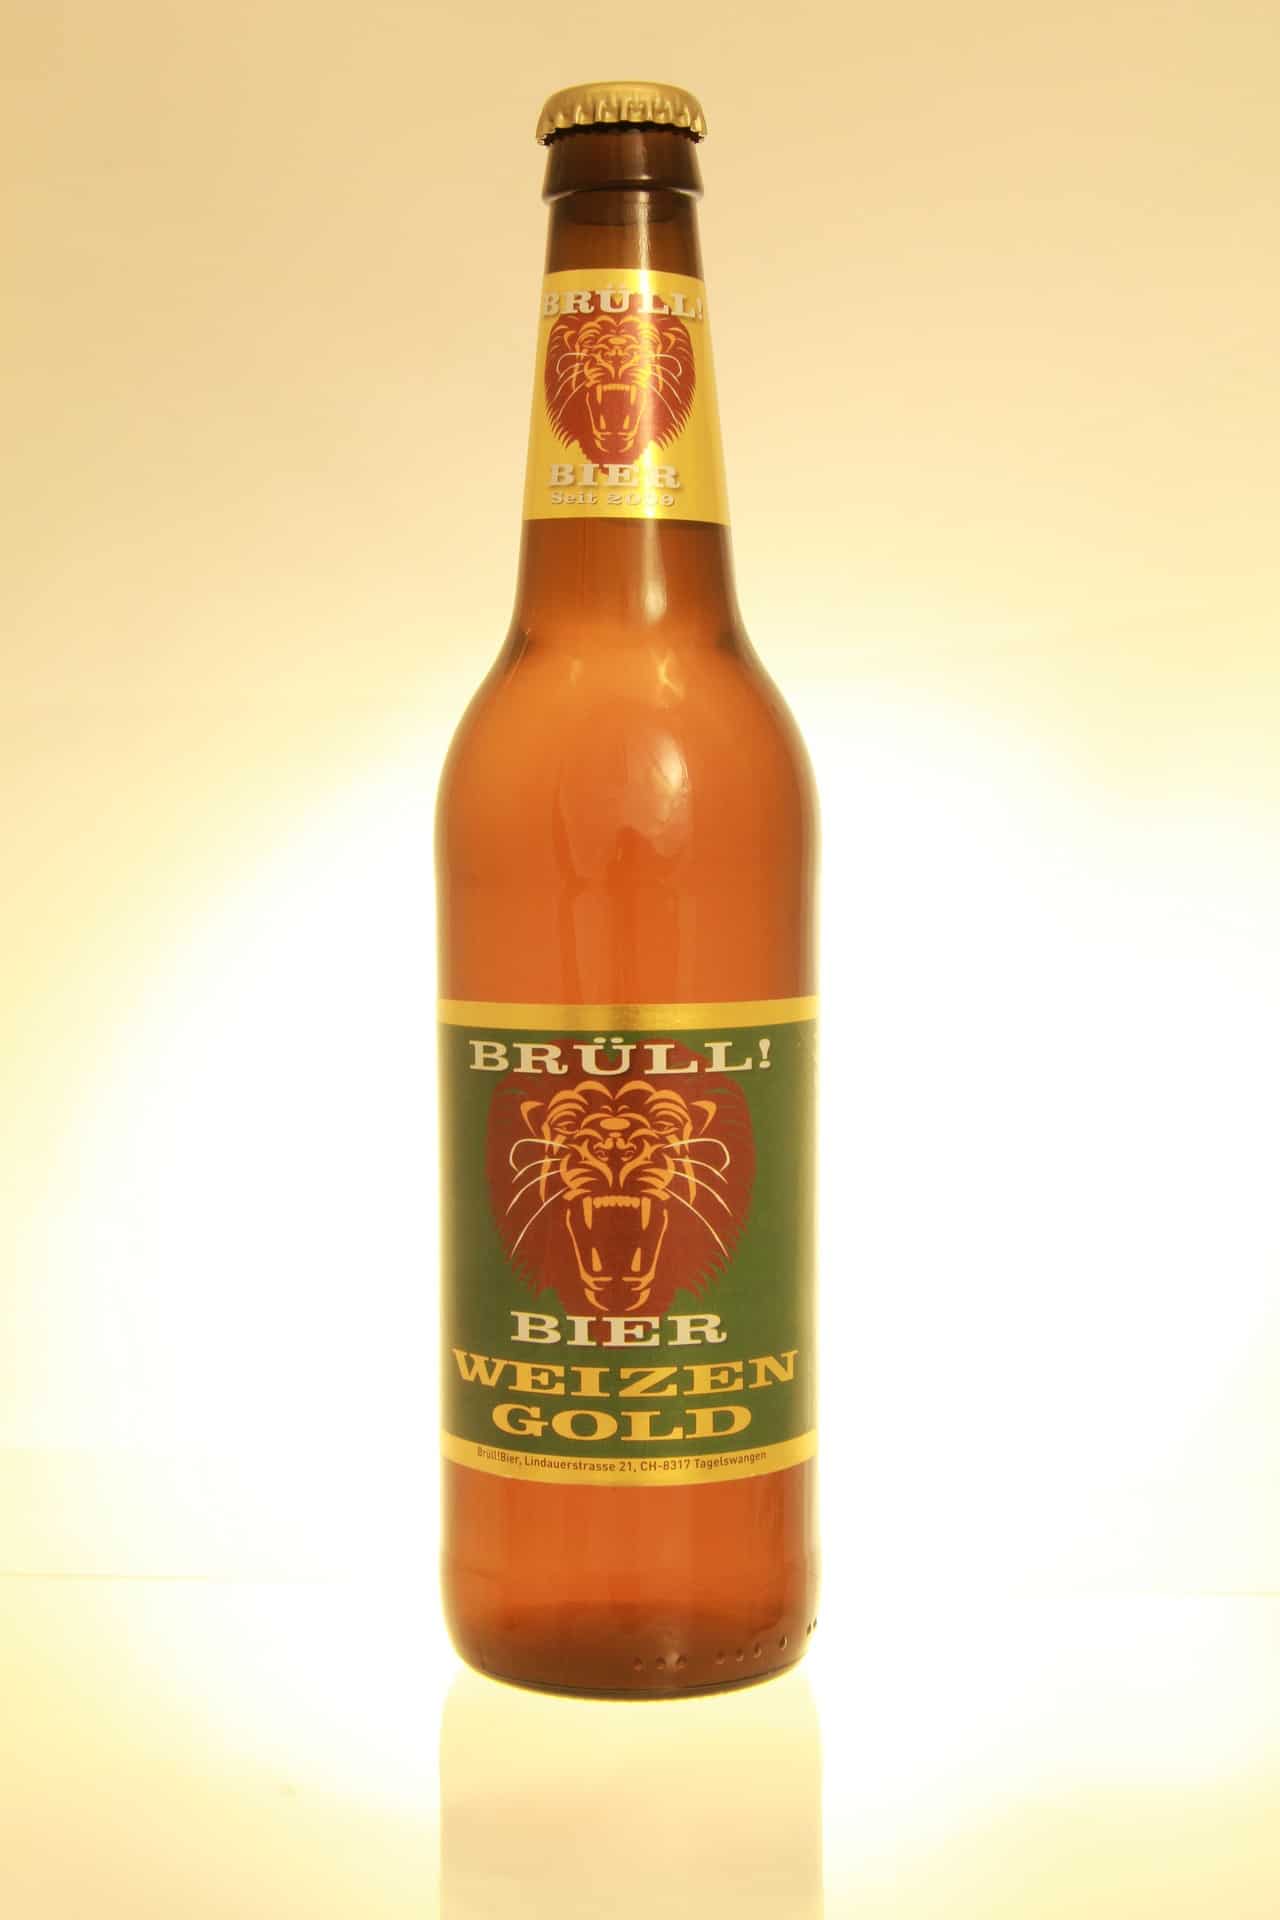
    While you make beer, you may find that you like one type so much that you want to start making your own beer all the time. This is going to leave you with a problem that you need to label your beer. You want to know what date you made the beer and even what type of beer you made. The labels you purchase for your beer cans, beer containers or even for the barrels you use to make beer are going to be vital to your ongoing hobby.

    Labels that you use on mailing letters that have a sticky back are going to be great for making those first batches of beer. As you continue making your own beer, you will find paper labels are going to work better, as you start putting your beer in bottles and actually having them capped or stopped. Putting the labels on the beer bottles or containers before putting the beer in, and before you put them in storage is going to help you remember which beer you want to drink first.

    Home brewing is something that is found all over the world. From the far corners of the nation many are starting to make their own beer for many reasons. We are including these reasons here for your own use, so you can determine for yourself if making beer is something you want to try your hand at!

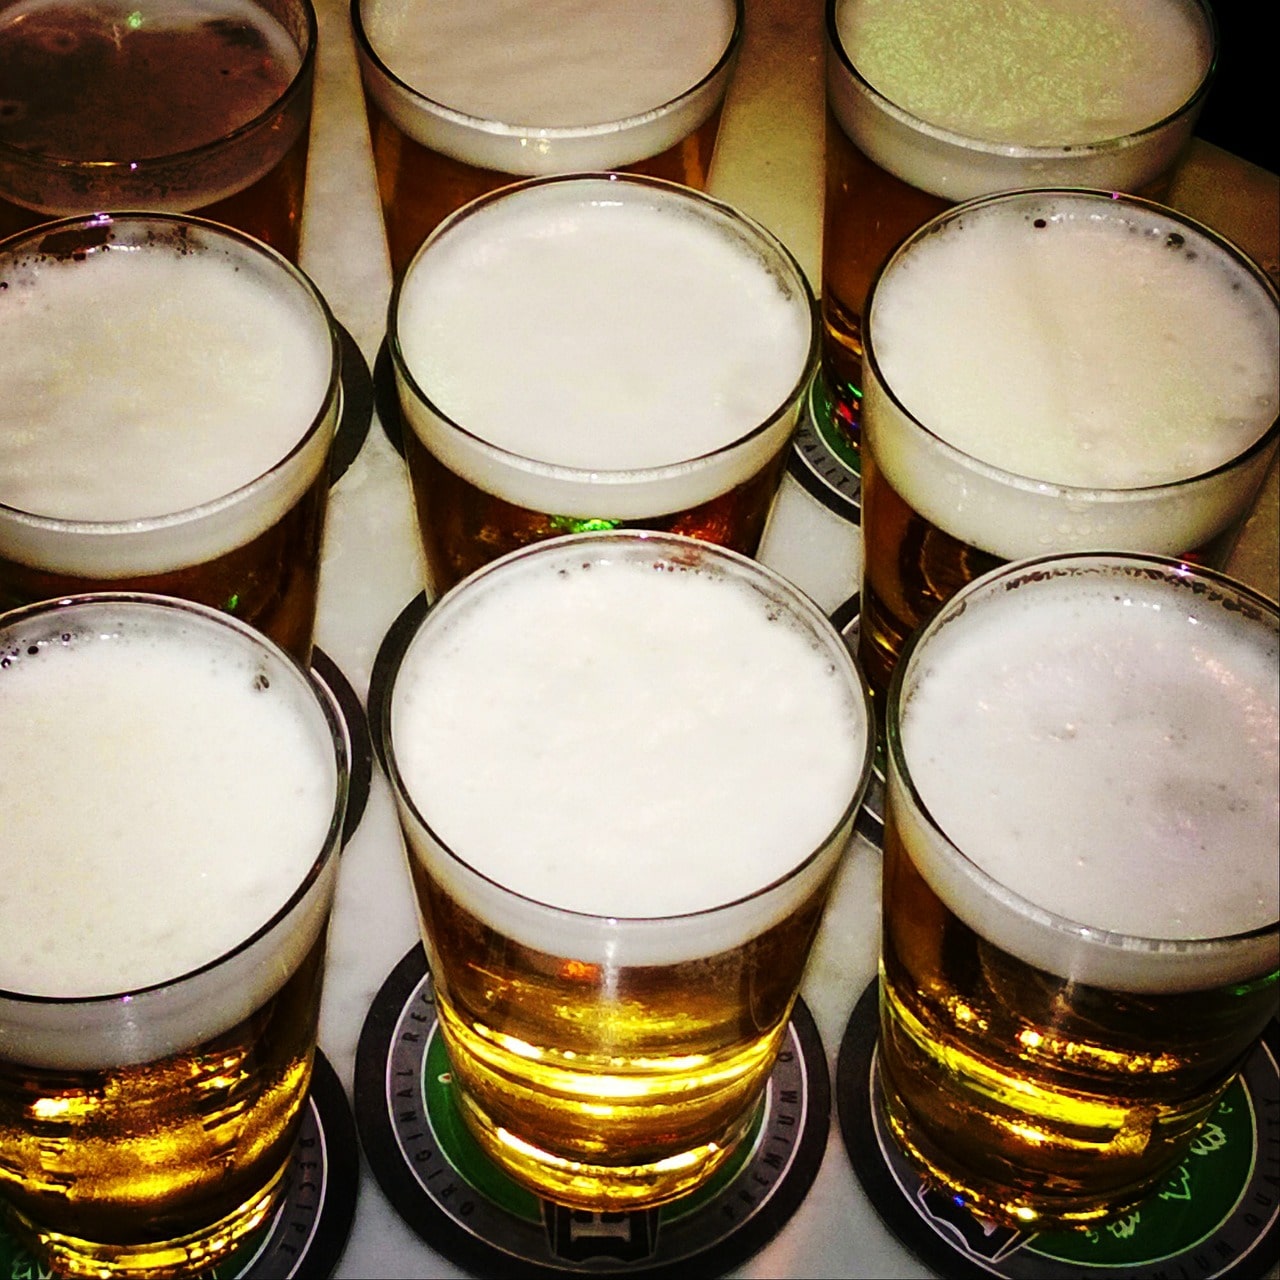
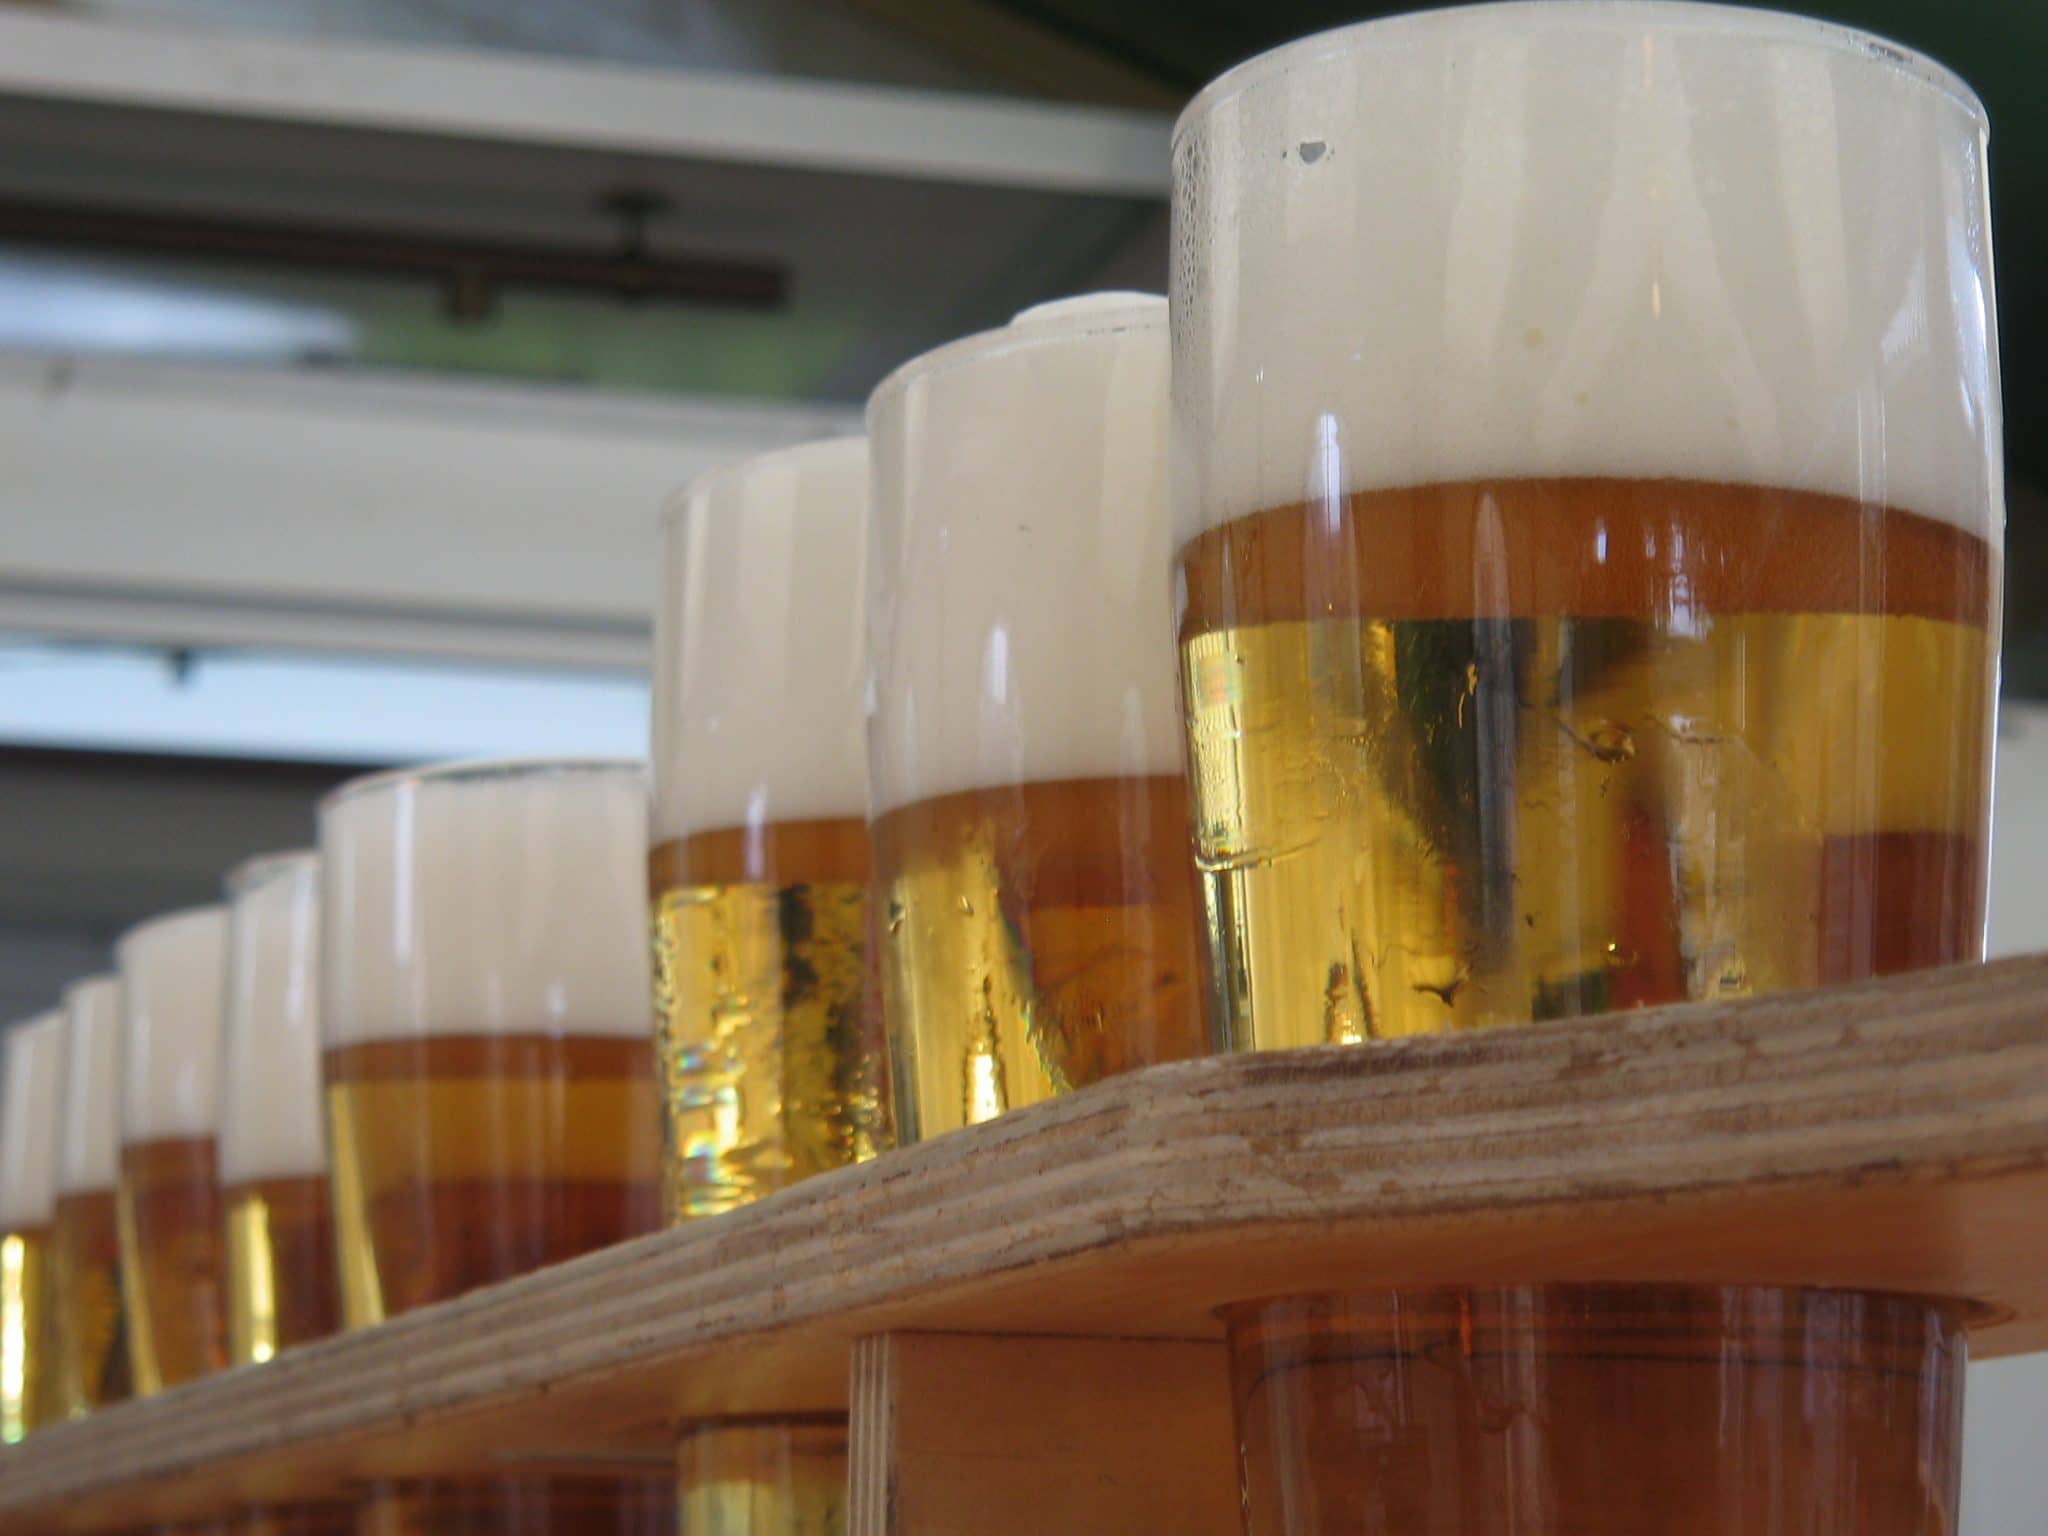
    In making your own beer, you become master of your own home. You create the drink that your family and friends love, and will enjoy as they sip that cold beer from a frosty mug. Being able to master this talent is something that will take a little patience, and determination as you continue making batches of beer as your friends continually drink it every time they come over to your home!

  • Five Best Homemade Beer Kits

    Five Best Homemade Beer Kits

    As winter winds down and spring kicks in, chances are your mouth is watering for some ice-cold beer. Maybe fond memories of days at the ballpark are flooding into your mind or taking foamy sips with your dad. There’s really nothing like beer to bring back good times. For those of you interested in making your own brew this year, here are some recommendations to get you started. Below, you’ll find the top five best homemade beer kits on the market.

    Home Brew Academy and Midwest Supplies Kit
    The homemade beer kit that wins hands down is the Home Brew Academy and Midwest Supplies Kit. Released just this year in February 2013, it’s perfect for first-time home brewers. The kit will cost you around $130 and includes a long list of supplies. Like most beer kits, it does include a kettle, bottle and ingredients so don’t open the box and expect to start brewing if you haven’t made these purchases. Because it’s connected to an established organization, you can visit the Home Brew Academy’s website, register for free and watch video tutorials to get you started.

    More Beer!
    More Beer offers a homemade beer kit for about $110. The kit has a few of the supplies to get you started but you will also need a 5 gallon brewing kettle, glass beer bottles (you can recycle old bottles so start saving), and a beer ingredient kit for every batch. The kit comes with instructions but general feedback is that they are not very easy to follow. If you choose this kit, be sure and watch plenty of videos from other sites to get you started.

    Northern Brewers Deluxe Starter kit
    This kit gets five star ratings from reviewers. Although reviews are small in number, they all seem to be legit and give the kit great feedback. Based on what Fermenter and Beer Recipe Kit you choose, the kit will cost around $150 and comes with a free copy of their Getting Started in Homebrewing DVD. Like other kits, you will need to purchase your own beer bottles (again, you can reuse beer bottles so start a collection), kettle and ingredients.

    New Brewers Complete Homebrew Beer Making Kit by Monster Brew
    The third recommendation for a homemade beer kit is offered from Monster Brew. It costs around $150 with shipping but you’ll get five gallons of beer out of it along with the bottles to put the beer into. You’ll receive an instruction booklet as well as a variety of videos on their website to get you started.

    Mr. Beer Premium Gold Edition
    If you are looking for something super simple to brew your first homemade beer, then try the Mr. Beer Premium Gold Edition Home Brew Kit. You can buy the kit from Amazon for just $46 and you’ll get four gallons of home brewed beer. The nice thing about this kit is that if you try it and don’t like the flavor, you haven’t invested that much cash. Plus, if you have Amazon Prime you can get the kit delivered in just two days.

  • Basic Ingredients of Homemade Beer Recipes

    Basic Ingredients of Homemade Beer Recipes

    For any home beer brewer, it never hurts to spend a little time understanding the basics of homemade beer recipes. Since most recipes hold four key ingredients (water, fermented sugar, hops and yeast) the more you understand these ingredients, the better you’ll be at manipulating and brewing to produce the tastiest homemade beer possible.

    If you think about it, water is the basic ingredient in beer and yet too many people don’t consider the quality of the clear liquid when they add it to their brewery. If you don’t live in an area where the tap produces clear, safe water, then make sure you purchase gallon jugs of purified water to use in your homemade beer recipes. The purest ingredients will get you the best tasting results; you don’t want something as simple as water getting in the way of quality beer.

    Fermented sugar is also found in all beers but most beer brewers refer to this as malted barley. Barley is the actual seed of the barley plant, a grain that resembles wheat. There are different types of barley that will produce a unique taste when added to homemade beer recipes. Malted barley has been allowed to germinate for almost forty hours and then soaked in water to increase the amount of water found in the seed. After a draining process, it is slow-cooked for about thirty hours before it is ground into small pieces. After another round of heating, it produces a sweet liquid that is then ready to add to the beer mixture.

    Have you ever heard someone drink a glass of beer and comment, “Not too hoppy?” They are referring to the third and vital ingredient as hops. The actual hop is the flower of the hop plant that usually comes in compressed little pellets greenish in color. Because the fermented sugar that comes from malt barley is so sweet, hops are needed to balance out the sweetness. With a bitter taste, the amount of hop flower you add to the beer will determine the intensity of the sweet flavor.

    The final standard ingredient in beer is yeast. When thinking about yeasts remember this: not all yeasts are created equally! This will keep you from a common mistake among beginner beer brewers: using bread yeast. Beer yeast is made especially for use in homemade beer recipes and comes in two varieties: ale and lager. You need the yeast to convert the sugar into alcohol. Ale yeasts are referred to as top fermenting because during the fermentation process they will rise to the top. Lager yeasts are just the opposite (bottom-fermenting) and will settle at the bottom of your brewing container. Yeasts are essential to unique flavors of beer as they produce various aroma byproducts.

    Overtime you can make your homemade beer recipes your own by adjusting the levels of yeast, hops, malted barley and water that you use. Don’t be discouraged if it takes a while to get the right tasting beer – the rewards are definitely worth the struggle!

  • Home Brewing Beer With Kegs Is Easy And Less Expensive

    Home Brewing Beer With Kegs Is Easy And Less Expensive

    Home brewing beer with kegs is a lot easier than you may have imagined. If you are ignorant about how to go about this task then you will be missing out on a great opportunity as well as miss out on saving a good deal of money. If you are still in doubt then consider the fact that it only costs six dollars a gallon when you undertake home brewing beer with kegs.

    Start by Buying a Kit

    The first step you need for home brewing beer with kegs is to go out and buy a kit that contains, among other things, the keg, tap as well as many other tools that will come in handy later on. Also included are the ingredients such as hops as well as containers. These kits that cost a mere twenty dollars will set you on the way to home brewing beer with kegs and once you start you will find it hard to stop.

    The cost of the kit depends on how much beer you wish to brew as well as your level of expertise. Home brewing beer with kegs provides you with the opportunity to brew delicious beer that will taste the way that you want it to taste and you will find it to be a hobby worth pursuing. After a long day at the office, home brewing beer with kegs will provide you with a way to unwind with a cool glass of beer that you yourself has made.

    After having purchased the kit, it follows that you must then ensure that you follow the instructions to the T and also make sure that you measure the ingredients exactly. If you don’t get the quantities right by even a small margin, the taste can be different from your expectations. There are also home-brew radio stations as well as brew pubs that promote unpasteurized beer which shows how popular home brewing beer with kegs has become.

    You will need to follow the basics of converting sugars into ethyl alcohol as well as carbon dioxide by yeast through the process of fermentation. The real difference between home brewing beer with kegs and the commercial means is that of scale, and if you have the right and sophisticated brewing abilities, there is no reason why you should not be able to brew the beer exactly as per you desire.

    If you have the right equipment and have a degree of sophistication in your brewing abilities and you put in enough effort, you should also be able to make beer of quality as good as professional beer makers.

  • Necessary Supplies For Making Beer At Home

    Necessary Supplies For Making Beer At Home

    If you are interested in making your own beer but have no idea where to get started, this article will help by giving you a list of necessary equipment and tips on how to obtain them. While there are plenty of homemade beer kits available, there are still plenty of home brewers who would rather mix and match supplies from a variety of vendors for making beer at home. Be prepared to spend anywhere from a few bucks to a few hundred dollars based on how many of the supplies you’ll need to get.

    To give an overview, here’s what you’ll need:
    5-gallon ceramic or steel boiling pot
    2 Fermentors with Airlocks
    Siphon with Bottle Filler
    Bottle Capper
    Bottle Caps
    Large Stirring Spoon
    Bottle Brush
    Thermometer
    Hydrometer
    Ingredients Kit
    Empty Beer Bottles (you can always recycle old so start saving)

    When choosing a home boiling pot you don’t need to spend a lot of cash. Some of the cheapest ones available are home canning 5-gallon pots and they work just fine. If you have a 3-gallon pot already it will work but the larger the pot the less amount of spills you will experience.

    A five-gallon bucket will work fine as your fermentor and can be purchased at any hardware store. Make sure to thoroughly clean and sterilize your bucket.

    When considering a thermometer, make sure you pick one that can reach at least two hundred and twenty degrees Fahrenheit. It needs to be a floating thermometer that is of good quality to make sure there are no discrepancies in temperature.

    Chances are you have familiarity with reading thermometer but have never had to work a hydrometer. You’ll need a hydrometer to gauge the progress of the fermentation process. Resist the temptation to check your hydrometer too often as each time you do there’s a chance of airborne microbes causing infections in your brew.

    You’ll need the bottle capper to make sure your bottle caps on screwed on nice and tight to your beer bottles. You can buy both the capper and the caps themselves at a beer brewery store or there are many online vendors. If you are planning on reusing your beer bottles, you’ll need a bottlebrush to make sure you can thoroughly clean the used bottles. You want your bottles as clean and pure as possible for making beer at home.

    With so many ingredient kits available for purchase, it is more cost effective to purchase a pre-assembled kit. The ingredient kits run around $20 for making beer at home and will produce around three gallons of beer. If, however, you are feeling nostalgic and want to assemble your own, make sure you do your research and purchase high-quality ingredients.

    If you’ve read through the equipment list and feel overwhelmed, then don’t worry! There are many companies that offer pre-assembled kits and can save you lots of time and research. As with anything, do your research to find the best kit for you when making beer at home.

  • Five Step Process For Making Beer At Home

    Five Step Process For Making Beer At Home

    Congratulations on your interest in homemade beer! You have joined the ranks of thousands of men and women across the country that enjoys this American pastime. Below you’ll find a five-step process for making beer at home to get you started.

    The five-step process for making beer at home is simple: brewing, fermenting, priming and bottling, aging and enjoying! This step-by-step overview is not meant to be exhaustive but to give you a general overview of what to expect before the brewing begins.

    Brewing
    During the brewing process your goal is to get the entire bitter flavoring out of the hops. You’ll begin by boiling water, extracting the wort from malted barley, re-hydrating the dry yeast and cooling the entire mixture. You’ll typically perform all of this on the stove pot over a sturdy metal pot. You don’t want to rush this process!

    Fermenting
    After the mixture has cooled, you’ll being the process of fermentation. This is an important part for making beer at home and you’ll need to pull out your fermentation bucket to accomplish it. Combining the yeast and the wort (with the hops) into the bucket it’s time to wait. Put the brew into a secure location, place the airlock firmly in place and practice a little patience. You do not want to disturb the mixture for two more weeks so make sure it is tucked away somewhere safe with a stable temperature of around sixty-five to seventy degrees Fahrenheit.

    Priming and Bottling
    This is the exciting stage as you are about to create nice, fizzy beer for your enjoyment! Keep in mind that a 5 gallon batch of beer can typically produce anywhere from forty to forty-eight bottles of beer. Remember that you can easily recycle old beer bottles, just be sure they are cleaned out. If you want carbonated beer then you’ll need to add what is referred to a priming sugar. When sugar is added back into the beer it will release a natural carbonation as it causes a slight re-fermentation to occur. There are many recipes available for priming sugars so use the one that’s best for you.

    After the priming sugar has been added you are ready to fill the bottles, which is the third step in the process of making beer at home. Using your siphon and bottle filling wand, fill each bottle and cap immediately. No matter how careful you are it is likely a small amount of beer will spill so keep a towel handy.

    Aging
    You might be ready to drink your beer now but the bottles need time to carbonate. This should take another two weeks or so before you can consume. Once again you’ll have to practice the most important aspect in the process of making beer at home: patience! They need the same temperature consistency as during the fermenting stage so tuck them away someplace nice and warm.

    Enjoying
    While some people like lukewarm beer, most feel the beverage is consumed best when ice cold. Once your beer is done aging, stick it in the fridge overnight to enjoy the next day. Then, kick back, relax and reward all of your hard work with an ice cold refreshing beer!